Blog · How-To Guide
Measure Angle from Photo: Upload, Click, Read
Measure any angle directly from a photo in seconds. Upload a picture from your smartphone or desktop computer, place three measurement points, and read degree angles instantly with sub-degree precision.
Interactive Photo Angle Measurement Dropzone
Drop your photo here or open the main full-screen interactive protractor canvas.
Upload your photo to start measuring
Supports JPG, PNG, WebP, GIF, SVG (100% private client-side browser processing)
Go to Interactive Engine →You captured a photo of a whiteboard diagram, a blueprint screenshot, or a piece of custom furniture you want to replicate. Now you need the precise angle from that image without printing paper copies or guessing against plastic tools. Here is the field-tested workflow to measure an angle from a photo, taking you from picture upload to accurate degree readings in under 30 seconds.
Why Digital Photo Measurement Beats Physical Printing
The traditional paper method required printing the photo, laying a physical plastic protractor over paper, and squinting at small degree marks. This approach introduces three major physical error sources:
- Printer Scaling Distortion: Desktop printers frequently stretch horizontal or vertical image axes by 1% to 3%, altering true angle geometry before measurement starts.
- Baseline Misalignment: Opaque plastic protractor edges obscure underlying image pixels at the critical vertex point.
- Visual Resolution Limits: Physical protractor ticks are spaced at 1-degree increments, restricting user precision to rounded guesses.
Measuring directly on original digital pixels preserves native image resolution, producing degree readings precise to 0.1 degrees.
Step 1: Capture an Optically Precise Photo
Measurement accuracy starts at camera capture. Follow these essential photogrammetry rules to avoid optical distortion:
- Position Camera Perpendicular: Hold the camera lens parallel to the subject surface. Off-axis tilt angles project 3D geometry onto a skewed 2D plane, altering true corner angles. Even a 10-degree optical tilt can skew a 90-degree corner by 2 to 3 degrees.
- Maximize Local Resolution: Fill the frame with the target angle. Higher pixel density across the vertex and ray endpoints sharpens placement accuracy. A 12-megapixel photo where the subject fills the frame gives far cleaner sub-pixel resolution than a cropped thumbnail.
- Avoid Direct Flash Glare: Eliminate hot-spot reflections on glossy whiteboards or laminated plans by using diffuse ambient lighting. High specular reflections obscure the exact line intersection point.
Step 2: Upload Image and Position Measurement Handles
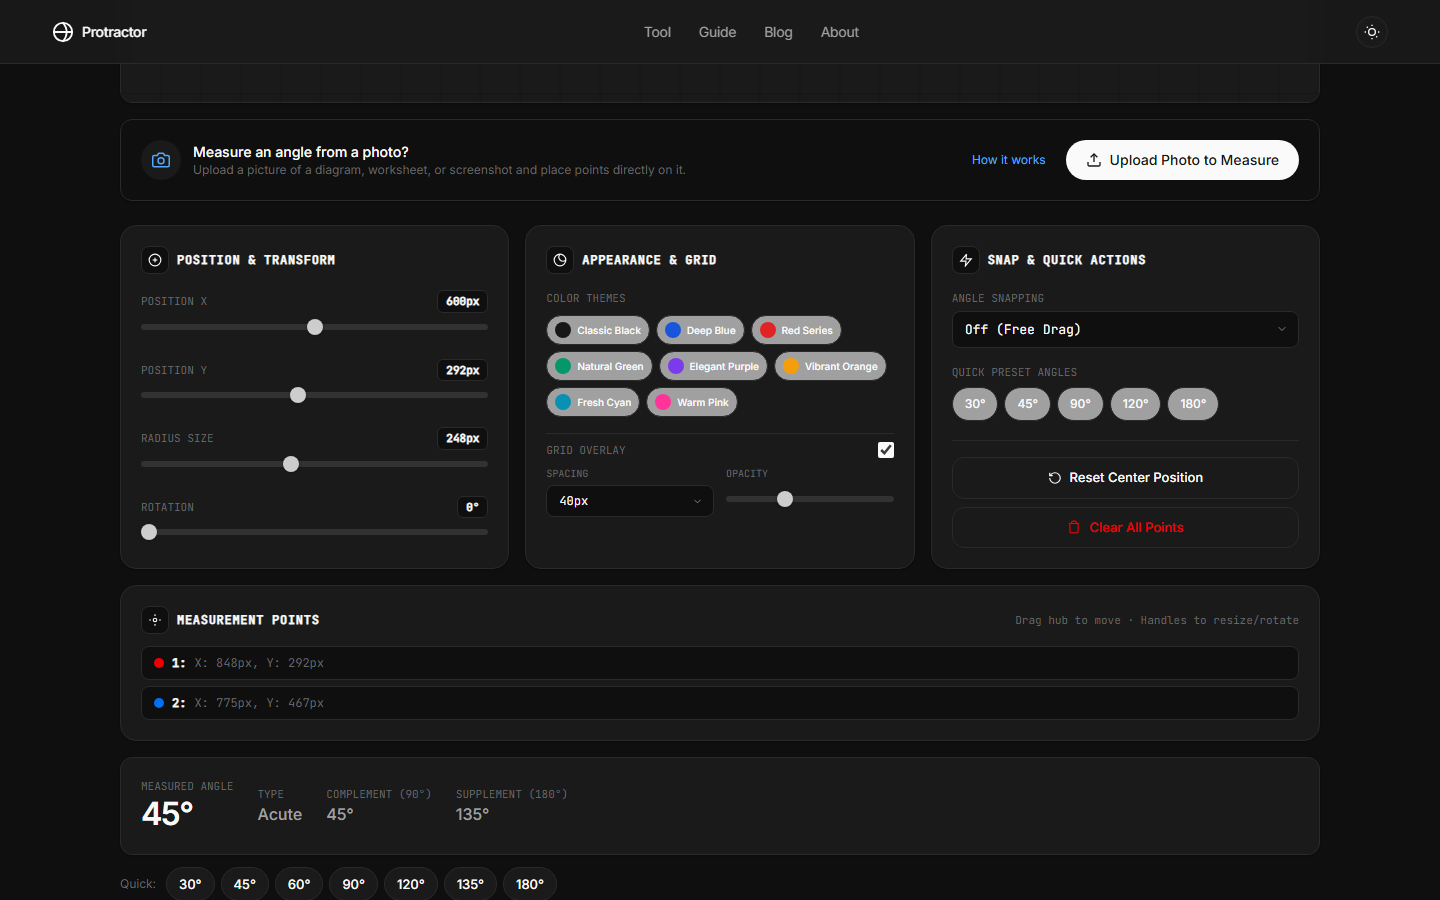
Launch the digital protractor tool on any device. Upload your picture file and adjust measurement points as follows:
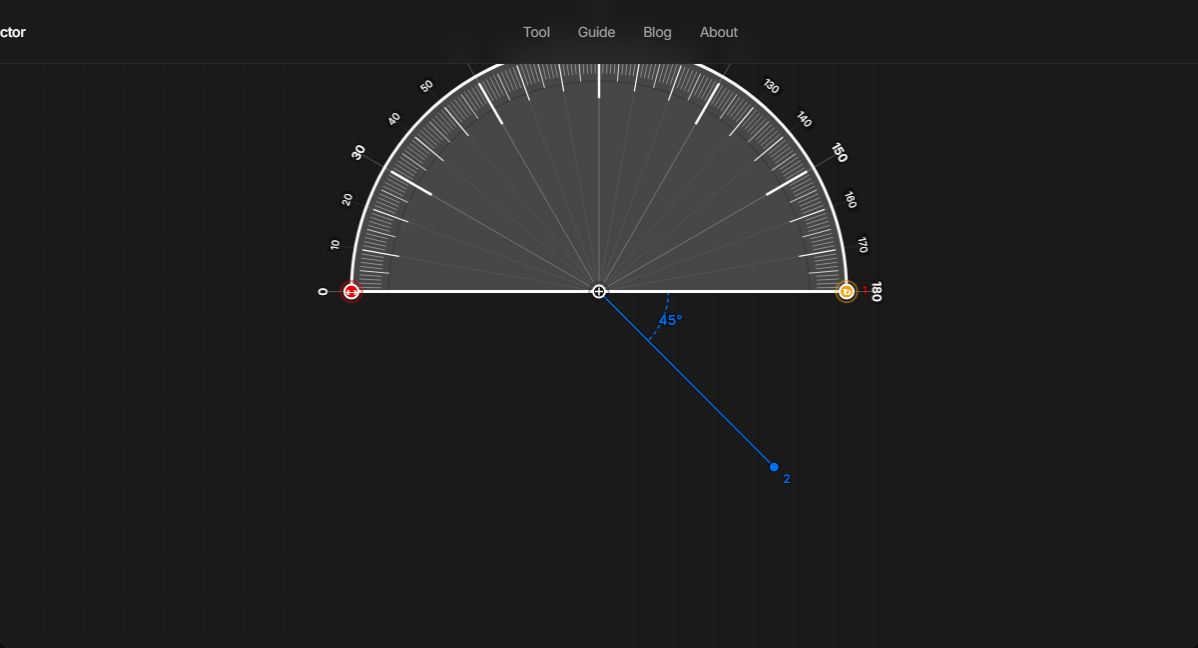
- Align Vertex Crosshair: Position the center handle over the exact line intersection. Zoom into the canvas to verify pixel alignment. A single pixel shift at the vertex impacts the total enclosed angle reading.
- Extend Ray Handles: Drag endpoint dots along each line segment as far from the vertex as visible edges allow. Longer baseline radii minimize angular sensitivity to minor cursor offsets.
- Read Instant Results: Degree calculations update automatically as handles move across the image, displaying acute, obtuse, and reflex values simultaneously.
Step 3: Worked Math Formula (Pixel Cartesian Trigonometry)
The online protractor computes angles using 2D Cartesian coordinate vector geometry. Given a vertex position V(x_v, y_v) and two ray endpoints P1(x1, y1) and P2(x2, y2), the absolute inclination angle of each ray relative to the horizontal axis is computed using the 2-argument arctangent function:
Mathematical Formula:
θ1 = atan2(y1 - yv, x1 - xv) × (180 / π)
θ2 = atan2(y2 - yv, x2 - xv) × (180 / π)
Δθ = | θ2 - θ1 |
Real-World Worked Numerical Example:
Suppose you upload a construction plan photo where handles are placed at:
- Vertex V: (x = 500, y = 400)
- Ray Point 1 (P1): (x = 800, y = 400)
- Ray Point 2 (P2): (x = 500, y = 700)
Calculating directional vectors:
Vector 1 = (800 - 500, 400 - 400) = (300, 0) → θ1 = 0.0°
Vector 2 = (500 - 500, 700 - 400) = (0, 300) → θ2 = 90.0°
Enclosed Interior Angle Δθ = | 90.0° - 0.0° | = 90.0° (Exact Perpendicular Corner)
Step-by-Step Sub-Pixel Centerline Alignment Technique
When measuring thick lines or hand-drawn ink on photos, line thickness can create uncertainty about where to place your points. To maintain sub-pixel precision:
- Locate the Line Centerline: Do not place your measurement handle on the top or bottom boundary edge of a thick drawn stroke. Zoom into 200% magnification and place the handle squarely along the optical center axis of the stroke.
- Leverage Anti-Aliased Pixels: Digital lines feature transitional gray anti-aliased pixels along their borders. Place the handle at the midpoint where pixel contrast transitions evenly on both sides.
- Maximize Handle Spacing Distance: Placing ray endpoint handles 400 pixels away from the vertex reduces positional placement error by a factor of four compared to placing handles only 100 pixels away.
Step-by-Step Trade Case Study: Woodworking Miter Bevel Measurement
Consider a realistic carpentry task: installing baseboard molding in an older home where wall corners are rarely square.
1. Photo Capture: The woodworker holds a smartphone directly above the wall corner and takes a straight-on photo of the drywall intersection.
2. Image Upload: The photo is loaded into the online protractor engine.
3. Handle Placement: The vertex handle is set right at the drywall corner joint, while the two ray handles are stretched 350 pixels along each wall face.
4. Angle Reading & Cut Calculation: The tool reports an actual corner angle of 88.4 degrees (rather than a nominal 90.0 degrees). To bisect the joint for a miter saw cut:
Setting the miter saw to 44.2 degrees produces a seamless gap-free joint on the first cut, saving time and eliminating scrap lumber waste.
Real-World Use Cases Across Industries
Digital photo angle measurement is utilized across practical fields every single day:
- Woodworking and Trim Bevels: Photograph an existing baseboard or crown molding joint to measure bevel angles before making saw cuts on a miter saw.
- Roofing Pitch Estimates: Take a straight-on photo of a gable end wall to calculate roof slope angles before ordering flashing and shingles.
- Stair Stringer Layouts: Measure tread-to-riser inclination angles on photos of rough stair openings to ensure compliance with local building codes.
- Solar Array Tilt Optimization: Measure existing roof pitch from ground photos to verify ideal tilt angles for photovoltaic solar panel installation.
- Geometry Homework Verification: Students photograph textbook problems or hand-drawn figures to verify manually calculated angles before submitting work.
- CAD and Blueprint Audits: Digital screenshots of architectural drawings can be audited for corner squareness without manual scaling or software conversion.
Photogrammetry Calibration & Perspective Error Compensation
When measuring photos of physical objects taken at an angle, 3D perspective distortion can skew 2D planar measurements. To compensate for perspective error:
- Identify a Known Calibration Reference: Locate a known right angle within the photo plane (such as a door frame corner, rectangular sheet of paper, or tile edge).
- Measure the Reference Angle: Place the handles on the reference corner. If an expected 90.0-degree corner measures 87.5 degrees, your photo plane has a 2.5-degree perspective tilt distortion.
- Apply Compensation Offset: Adjust subsequent angle readings taken on that same image plane by the measured calibration offset factor.
Common Photo Types and Accuracy Benchmark Table
| Photo Source Type | Expected Accuracy | Optimization Guidelines |
|---|---|---|
| Textbook / Homework Sheet | 0.1–0.2° | Flatten curved paper pages near book bindings |
| Whiteboard / Wall Diagram | 0.2–0.5° | Use indirect lighting to prevent marker glare |
| Architectural Blueprint | 0.1–0.2° | Align camera lens perpendicular to drawing surface |
| Physical Carpentry Subject | 1.0–2.5° | Take multiple photos to correct 3D perspective bias |
| Native Screen Capture (PNG) | 0.1° | Zero optical camera distortion; maximum precision |
Frequently Asked Questions
Can I measure an angle from a photo I already took?
Yes. The online protractor accepts existing image files in JPG, PNG, WebP, GIF, and SVG formats. Photos captured perpendicular to the surface produce optimal degree accuracy.
Does photo resolution impact measurement precision?
Yes. Higher pixel counts across the vertex enable finer handle alignment. High-resolution images filling the screen provide sub-degree measurement confidence.
Is my uploaded photo stored on remote servers?
No. Image rendering occurs 100% client-side inside your browser memory. Your files are never transmitted to external cloud servers.
Can I measure angles from PDF document screenshots?
Yes. Capture a screenshot of the PDF view at 100% zoom level and upload the file. Digital screenshots eliminate camera lens distortion entirely.
Measure an angle from a photo now.
Upload your picture and get instant degree readings.
Open Online Protractor